GE Electric Self Cleaning Oven Manual: An Overview
This manual details operation of your GE electric self-cleaning oven‚ simplifying maintenance with high-temperature cleaning cycles. It covers safety‚ features‚ and troubleshooting.
Understanding the self-clean function‚ proper ventilation‚ and app connectivity are key to optimal performance and longevity of your appliance.
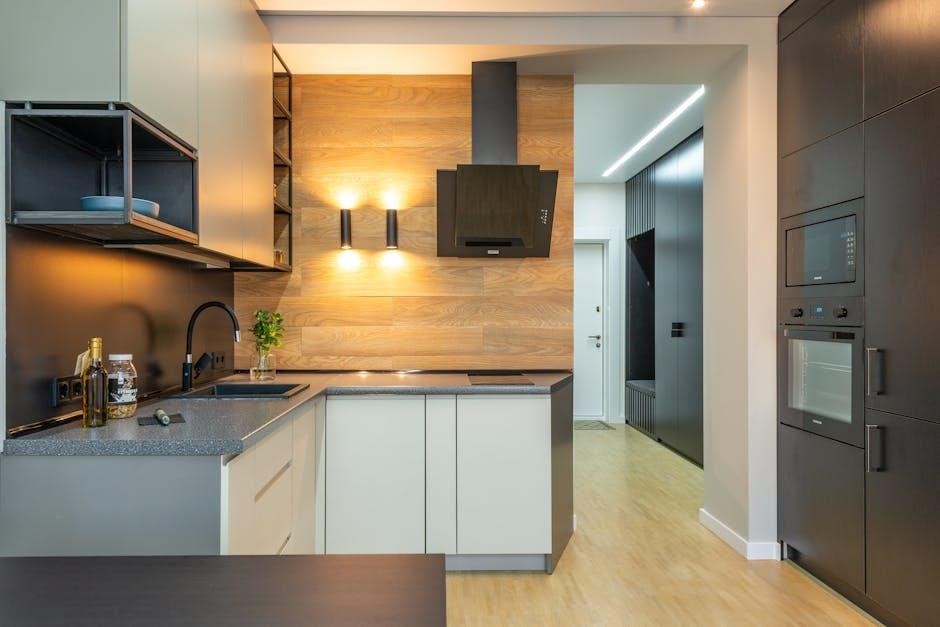
Understanding Your GE Oven
Your GE electric oven is designed for efficient and reliable cooking‚ featuring a self-cleaning cycle for convenient maintenance. Familiarize yourself with the oven’s components‚ including the heating elements‚ oven racks‚ and control panel.
The self-cleaning feature utilizes high temperatures to eliminate baked-on food residue‚ minimizing manual scrubbing. Understanding the oven’s various cooking modes – bake‚ broil‚ convection – will enhance your culinary experience.
Proper usage and regular maintenance‚ as outlined in this manual‚ will ensure optimal performance and extend the lifespan of your GE appliance. Always refer to the cooking guide for suggested times and temperatures.
Model and Serial Number Location
Locating your GE oven’s model and serial numbers is crucial for accessing support‚ warranty services‚ and ordering replacement parts. These numbers uniquely identify your specific appliance configuration.
Typically‚ you’ll find a label containing this information behind the oven door or inside the oven frame. For models with a warming drawer or lower oven‚ check the label on the drawer itself.
Record these numbers in a safe place for future reference. Having them readily available will streamline any service requests or inquiries with GE Appliances. The serial number is a GE trademark.
Safety Precautions Before Self-Cleaning
Prior to initiating the self-cleaning cycle‚ several safety precautions are essential. Ensure the kitchen is well-ventilated to minimize potential carbon monoxide exposure‚ as the high temperatures release fumes.
Remove all oven racks‚ cookware‚ and any aluminum foil‚ as these items can become damaged or pose a fire hazard. Pets should be kept away from the kitchen during the cycle due to the intense heat.
Never attempt to open the oven door during self-cleaning‚ as it will be locked automatically for safety. Always supervise children and individuals with sensitivities.
Preparing for the Self-Cleaning Cycle
Proper preparation ensures a safe and effective self-clean. Remove racks and debris‚ and confirm adequate ventilation before starting the high-temperature process.
Removing Oven Racks and Accessories
Before initiating the self-cleaning cycle‚ it’s crucial to remove all oven racks‚ broiler pans‚ and any other accessories. These items can become discolored or warped at the extremely high temperatures reached during cleaning.
Carefully slide the racks forward and out of the oven. For models with a warming drawer or lower oven‚ remove any items from those compartments as well. Leaving items inside can also hinder the cleaning process and potentially damage the oven’s interior.
Store the removed racks and accessories in a safe place‚ away from the oven‚ until the self-cleaning cycle is complete and the oven has fully cooled.
Wiping Up Loose Debris
Prior to running the self-clean cycle‚ it’s beneficial to wipe up any large pieces of food debris or spills from the oven’s interior. While the high heat will burn away most residue‚ removing substantial amounts beforehand minimizes smoke and odors during the cleaning process.
Use a damp cloth or sponge to gently wipe the oven floor‚ walls‚ and door. Avoid using abrasive cleaners‚ as they can damage the oven’s surface. Focus on areas with visible buildup.
This simple step enhances the effectiveness of the self-clean cycle and contributes to a cleaner‚ fresher-smelling kitchen.
Ensuring Proper Ventilation
Adequate ventilation is crucial during the self-cleaning cycle due to the potential release of odors and a small amount of carbon monoxide. Open windows in the kitchen and turn on the exhaust fan to create airflow. This helps dissipate fumes and maintain air quality within your home.
If you have sensitive respiratory conditions or pets‚ ensure they are moved to a well-ventilated area away from the kitchen during the cleaning process.
Proper ventilation minimizes any potential discomfort and ensures a safer self-cleaning experience.

Initiating the Self-Cleaning Cycle
Begin by selecting the desired cleaning duration‚ then the oven door automatically locks for safety. The high-temperature process then efficiently burns away food residue.
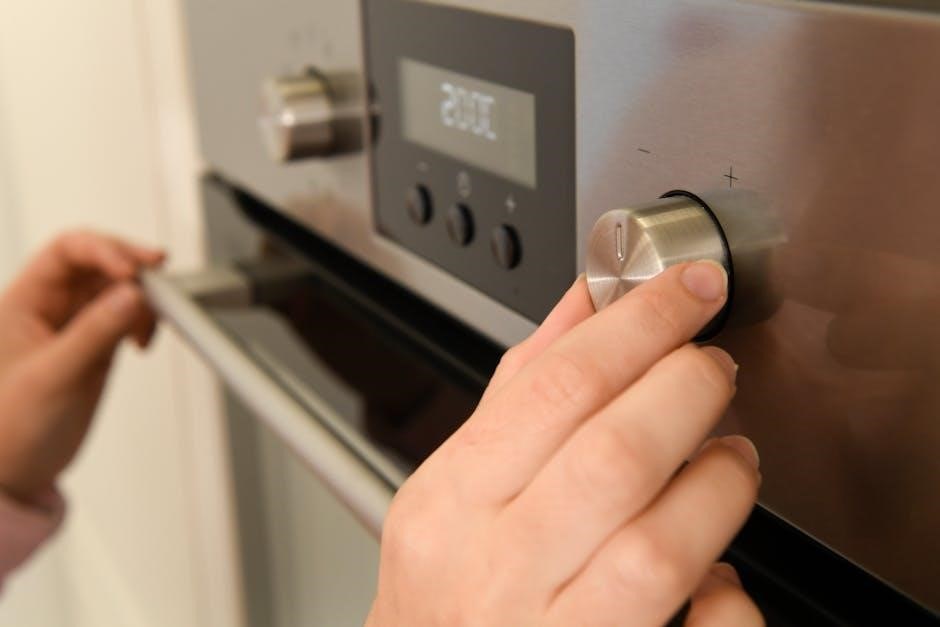
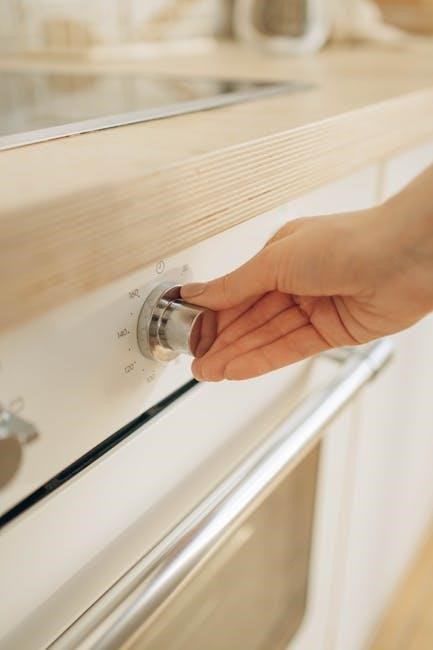
Selecting the Cleaning Duration
Your GE electric oven offers varied self-cleaning cycle lengths‚ typically ranging from 2 to 4 hours‚ or a heavy-duty option for significantly soiled ovens. The duration chosen directly impacts the intensity of the cleaning process and energy consumption.
For lighter cleaning needs‚ a shorter cycle is sufficient‚ while heavily soiled ovens benefit from extended durations. Consult your specific model’s manual for precise cycle options and recommended times. Remember to consider the level of buildup when making your selection‚ ensuring thorough cleaning without excessive energy use.
Always prioritize safety and follow the manufacturer’s guidelines for optimal results.
Locking the Oven Door
A crucial safety feature during the self-cleaning cycle is automatic door locking. Once initiated‚ the oven door will lock automatically and remain locked throughout the entire process‚ preventing accidental opening due to the extremely high temperatures.
Do not attempt to force the door open during cleaning; this could cause severe burns or damage the locking mechanism. The door will automatically unlock once the oven has cooled sufficiently and the cycle is complete.
This locking function is essential for protecting users and ensuring the self-cleaning cycle operates safely and effectively.
Understanding the Cleaning Process
The self-cleaning cycle utilizes extremely high temperatures – significantly hotter than normal cooking – to burn away food residue within the oven cavity. This process transforms food soils into ash‚ which can then be easily wiped away after the cycle concludes and the oven has cooled.
During the cycle‚ you may notice a burning smell; this is normal as food particles are incinerated. The oven door remains locked for safety‚ and the cycle duration varies based on the selected cleaning level.
Proper ventilation is vital during this process‚ as minimal carbon monoxide is released.
Self-Cleaning Cycle Troubleshooting
Addressing issues during self-cleaning is crucial. Common problems include failure to reach temperature‚ smoke emission‚ or error codes – each requiring specific attention.
Oven Not Reaching Cleaning Temperature
If your GE oven fails to reach the necessary high temperature for the self-cleaning cycle‚ several factors could be at play. First‚ ensure the oven door is completely and securely locked; the cycle won’t initiate without proper locking.
Check the household voltage to confirm it meets the oven’s requirements. A low voltage supply can hinder heating. Also‚ verify the oven hasn’t been overloaded with excessive debris‚ as this can strain the heating elements.
If the issue persists‚ a faulty oven temperature sensor or a malfunctioning heating element might be the cause‚ requiring professional servicing by a qualified technician. Do not attempt self-repair.
Smoke During the Self-Cleaning Cycle
Some smoke during the self-cleaning cycle is normal‚ resulting from food residue burning off at high temperatures. However‚ excessive smoke warrants attention. Ensure proper kitchen ventilation by opening windows or using the exhaust fan to minimize odor and smoke dispersal.
Avoid lingering in the kitchen during the cycle. If smoke becomes thick or accompanied by a burning plastic smell‚ immediately stop the cycle and allow the oven to cool completely.
Excessive grease buildup can contribute to heavier smoke; thoroughly wipe up loose debris before initiating the cycle. If the problem continues‚ contact a qualified technician for inspection.
Error Codes During Self-Cleaning
Your GE oven displays error codes to indicate issues during the self-cleaning cycle. These codes help diagnose problems‚ preventing potential damage. Consult the full owner’s manual for a comprehensive list and explanation of each code.
Common errors might relate to door lock malfunctions‚ temperature sensor failures‚ or issues with the self-clean heating element. Attempting to force the door open during a cycle can trigger an error.
Record the error code before contacting customer support or a qualified technician. Do not attempt self-repair; improper handling could void the warranty.
Post-Cleaning Procedures
After the self-clean cycle‚ allow the oven to cool completely. Wipe away any remaining ash with a damp cloth‚ then unlock the oven door.
Allowing the Oven to Cool
It is crucial to allow the oven to cool down completely after the self-cleaning cycle concludes. The oven reaches extremely high temperatures during cleaning‚ and attempting to open the door prematurely poses a significant burn risk.
The cooling process can take several hours‚ depending on the cycle duration and ambient temperature. Do not attempt to unlock the door manually during this time; the locking mechanism will automatically release when the oven has cooled sufficiently.
Avoid touching any interior surfaces until they are cool to the touch. Patience is key to ensuring your safety and preventing potential damage to the oven’s components.
Wiping Away Ash
Once the oven has fully cooled‚ a fine layer of ash will remain on the interior surfaces. This ash consists of residue from the burned-off food soils and is a normal byproduct of the self-cleaning cycle.
Use a damp cloth to easily wipe away the ash. Avoid using abrasive cleaners or scouring pads‚ as these can damage the oven’s interior finish. A mild dish soap solution can be used for stubborn residue‚ but ensure it is thoroughly rinsed away.
Dispose of the ash responsibly‚ and remember to check for any remaining small particles in the oven’s corners and crevices.
Unlocking the Oven Door
The oven door automatically locks at the start of the self-cleaning cycle for safety reasons‚ preventing accidental opening during the high-temperature process. Do not force the door open while it’s locked; this could cause damage to the locking mechanism.
Once the oven has completely cooled down‚ the door will automatically unlock. You may hear a clicking sound as the locking mechanism releases. If the door doesn’t unlock‚ consult the troubleshooting section of this manual.
Ensure the door is fully unlocked before attempting to use the oven for cooking.
Understanding Oven Features
GE ovens offer features like electric warming drawers and upper oven cooking guides‚ enhancing versatility. Explore the app for onscreen controls and cooking assistance.
Electric Warming Drawer Operation
The electric warming drawer maintains food temperatures‚ keeping dishes perfectly ready to serve without overcooking. It operates independently from the main oven‚ offering flexible cooking solutions.
To activate‚ select the warming drawer setting on the control panel‚ adjusting the desired temperature. This feature is ideal for holding casseroles‚ breads‚ or plated meals.
Always ensure food is covered to prevent drying‚ and avoid using the drawer for prolonged storage. Refer to the cooking guide for recommended warming times and temperatures for various food types.
Upper Oven Cooking Guide
The upper oven offers versatile cooking options‚ utilizing convection and traditional bake settings for optimal results. This guide provides recommended temperatures and times for common dishes‚ ensuring perfectly cooked meals.
For baking‚ preheat the oven to the specified temperature‚ adjusting rack position based on the recipe. Convection bake reduces cooking time and promotes even browning.
Roasting benefits from higher temperatures‚ creating crispy exteriors and juicy interiors. Utilize the temperature probe for precise doneness. Refer to the full cooking guide within the owner’s manual for detailed instructions.
Experiment with settings to personalize your cooking experience.
Maintaining Your GE Oven
Regular cleaning extends oven life and ensures peak performance. Wipe spills promptly‚ clean the door and control panel‚ and utilize the self-clean feature periodically.
Regular Cleaning Between Self-Clean Cycles
Consistent upkeep minimizes the need for frequent self-cleaning‚ preserving oven components. After each use‚ wipe down interior surfaces with a damp cloth and mild detergent to remove food residue.
Pay attention to splatters and spills‚ addressing them immediately to prevent baked-on messes. For stubborn stains‚ create a paste of baking soda and water‚ applying it to the affected area before wiping clean.
Avoid abrasive cleaners‚ as they can damage the oven’s interior finish. Regular light cleaning complements the self-clean cycle‚ maintaining optimal oven performance and extending its lifespan.
Cleaning the Oven Door
The oven door requires regular attention to maintain its appearance and functionality. Wipe down the door’s exterior with a damp cloth and mild dish soap after each use‚ removing fingerprints and splatters.
For baked-on residue on the glass‚ utilize a glass cleaner specifically designed for oven doors. Avoid abrasive cleaners‚ which can scratch the surface. If your door has removable glass panels‚ consult the manual for safe removal and cleaning instructions.
Ensure the door seals are clean to maintain proper oven temperature and prevent leaks. A clean oven door contributes to efficient cooking and a polished kitchen aesthetic.
Cleaning the Control Panel
Maintaining a clean control panel ensures optimal functionality and a user-friendly experience. Regularly wipe the panel with a soft‚ damp cloth to remove dust‚ grease‚ and fingerprints. Avoid excessive moisture‚ which could damage the electronic components.
For stubborn stains‚ lightly dampen the cloth with a mild dish soap solution‚ then wipe gently. Never use abrasive cleaners‚ scouring pads‚ or harsh chemicals‚ as these can scratch or discolor the panel’s surface.
If the panel features touchscreen controls‚ follow the manufacturer’s specific cleaning recommendations to prevent damage and maintain responsiveness.

Carbon Monoxide Considerations
Self-cleaning ovens emit small amounts of carbon monoxide. Proper ventilation is crucial during the cycle to minimize exposure and ensure safe operation.
Ventilation During Self-Cleaning
Adequate ventilation is paramount during the self-cleaning cycle. The high temperatures involved release a minimal amount of carbon monoxide‚ a colorless‚ odorless gas. To safely manage this‚ open windows (at least 10 inches) in the kitchen and adjacent areas before initiating the cycle.
Turn on the kitchen exhaust fan‚ if available‚ to further enhance airflow. Individuals sensitive to fumes‚ such as those with respiratory issues or pets‚ should avoid the kitchen area entirely during self-cleaning. Never leave the self-cleaning cycle unattended for extended periods‚ and ensure proper ventilation throughout its duration.
Minimizing Carbon Monoxide Exposure
Carbon monoxide (CO) is a byproduct of the self-cleaning process‚ stemming from the oven’s fiberglass insulation. While amounts are small‚ minimizing exposure is crucial. Prioritize ventilation – open windows and use the exhaust fan as detailed previously.
Avoid operating the oven during self-clean if anyone in the household has respiratory problems. If you experience symptoms like headache‚ dizziness‚ or nausea‚ immediately turn off the oven‚ ventilate the area‚ and seek fresh air. Regularly inspect and maintain your oven to ensure optimal function and minimize CO release.
GE Appliance Connection & App Usage
Connect your GE oven to the GE Appliances App for remote control and access to onscreen instructions. Enjoy enhanced convenience and monitoring capabilities.
Connecting to the GE Appliances App
To connect your GE electric oven to the GE Appliances app‚ begin by downloading the app from your device’s app store. Once installed‚ create an account or log in if you already have one. Follow the onscreen prompts within the app to add your oven.
The app will guide you through the Wi-Fi connection process‚ ensuring your oven is linked to your home network. You may need your Wi-Fi password during setup. Once connected‚ you’ll gain access to remote control features‚ monitoring capabilities‚ and potentially‚ smart features like voice control.
Refer to the app’s help section for detailed instructions specific to your oven model.
Onscreen Instructions for Oven Control
Your GE electric oven features a user-friendly touchscreen interface providing clear‚ step-by-step instructions for all functions. To access controls‚ simply touch the screen to activate it. The display will guide you through setting temperature‚ cooking modes‚ and timer functions.
For self-cleaning‚ the screen will prompt you to remove racks and debris‚ select cleaning duration‚ and confirm the cycle start. It also displays the door lock indicator during operation.
Explore the menu options to discover advanced features and customize your cooking experience. The onscreen help section offers additional support and troubleshooting tips.

Important Manual Information
This manual provides essential guidance for safe operation‚ maintenance‚ and servicing of your GE oven. Only qualified technicians should perform repairs‚ using listed parts.
Servicing and Qualified Technicians
For any repairs or maintenance beyond routine cleaning‚ it is crucial to engage a qualified appliance technician. Attempting self-repair can be dangerous and may void your warranty. GE Appliances recommends certified service professionals who understand the intricacies of your oven’s electrical and mechanical systems.
These technicians possess the necessary expertise to diagnose issues accurately and perform repairs safely‚ ensuring the continued reliable operation of your self-cleaning oven. Always request identification and verify credentials before allowing anyone to service your appliance. Improper repairs can compromise safety features and oven performance.
Parts Listed in the Owner’s Manual
The owner’s manual provides a comprehensive listing of replaceable parts for your GE electric self-cleaning oven. This includes components like oven racks‚ broiler pans‚ control knobs‚ and heating elements. Detailed diagrams often accompany these lists‚ aiding in identification during ordering or servicing.
Only use genuine GE replacement parts to ensure compatibility and maintain the oven’s performance and safety standards. Non-approved parts may not function correctly and could potentially damage the appliance. The manual also specifies part numbers‚ simplifying the ordering process through authorized GE parts distributors.